Tagging How To’s
1. Register or Log In
Start by registering as a consignor or logging into your consignor account. Once logged in, you'll see options like:
Manage Items – to enter or edit your items
Drop-Off – to schedule your appointment
Team Thread – to sign up to help
Settlement Report – to view sales
Item Transfer and Contact Us
2. Supplies You May Need
White cardstock
Safety pins (small for tags, large for attaching items to hangers) or
Tagging gun & barbs
Zip ties
Packing tape, Scotch tape, rubber bands, clear bags
Hangers (metal preferred; plastic also okay)
Tip: Dry cleaners often give out free metal hangers!
3. Entering Items
Click Manage Items and fill out the form.
Be specific when entering descriptions! For example:
✅ “Navy Gap Sports Jacket, size 6”
❌ “Jacket”
Helpful Tips:
Include brand, color, and number of pieces (e.g. “2-piece”).
Mention condition like “New” or “Only Worn Once” — this boosts buyer interest.
Category is required – for tax purposes:
Use Boy Clothing/Girl Clothing for clothing.
Choose the closest appropriate category for other items.
Click Add Item when finished. You can go back to edit or delete if needed.
4. Printing Tags
When you're ready to print:
Go to Print Tags
Select items by checking the box next to each
Click Generate Tags - will pop up as a pdf
Printing Instructions:
Use white cardstock (not regular paper) - this is a must
Cardstock (65 lb is ideal) is available at Walmart, Staples, Sam’s Club, or online
Print in Landscape mode - 8 tags per page
Use a laser printer if possible (for best barcode quality)
You can also email your tag PDF to a print shop (Staples, A+, etc.)
5. Hanging Items
Hang clothes with the hanger hook facing left (like a question mark ❓)
Attach tags on the left side of the garment (right as you face it)
Pants/Shorts/Skirts:
Use pant hangers if possible
If not, pin to a shirt hanger high on the shoulders to prevent sliding
6. Using a Tagging Gun
Best Practices:
Shirts/tops: Insert barb through the retail tag or seam under the arm
Pants/shorts: Tag through retail tag, elastic seam, or under a belt loop
⚠️ Avoid tagging through fabric where a hole might show — use seams or tags only.
7. Tagging Shoes
Use zip ties through eyelets, buckles, or straps to secure both shoes together
If zip ties won’t work, use rubber bands or secure the tag with packing tape
If placing shoes in a bag, tag the shoes, not the bag
Clean shoes are a must
8. Non-Clothing Items
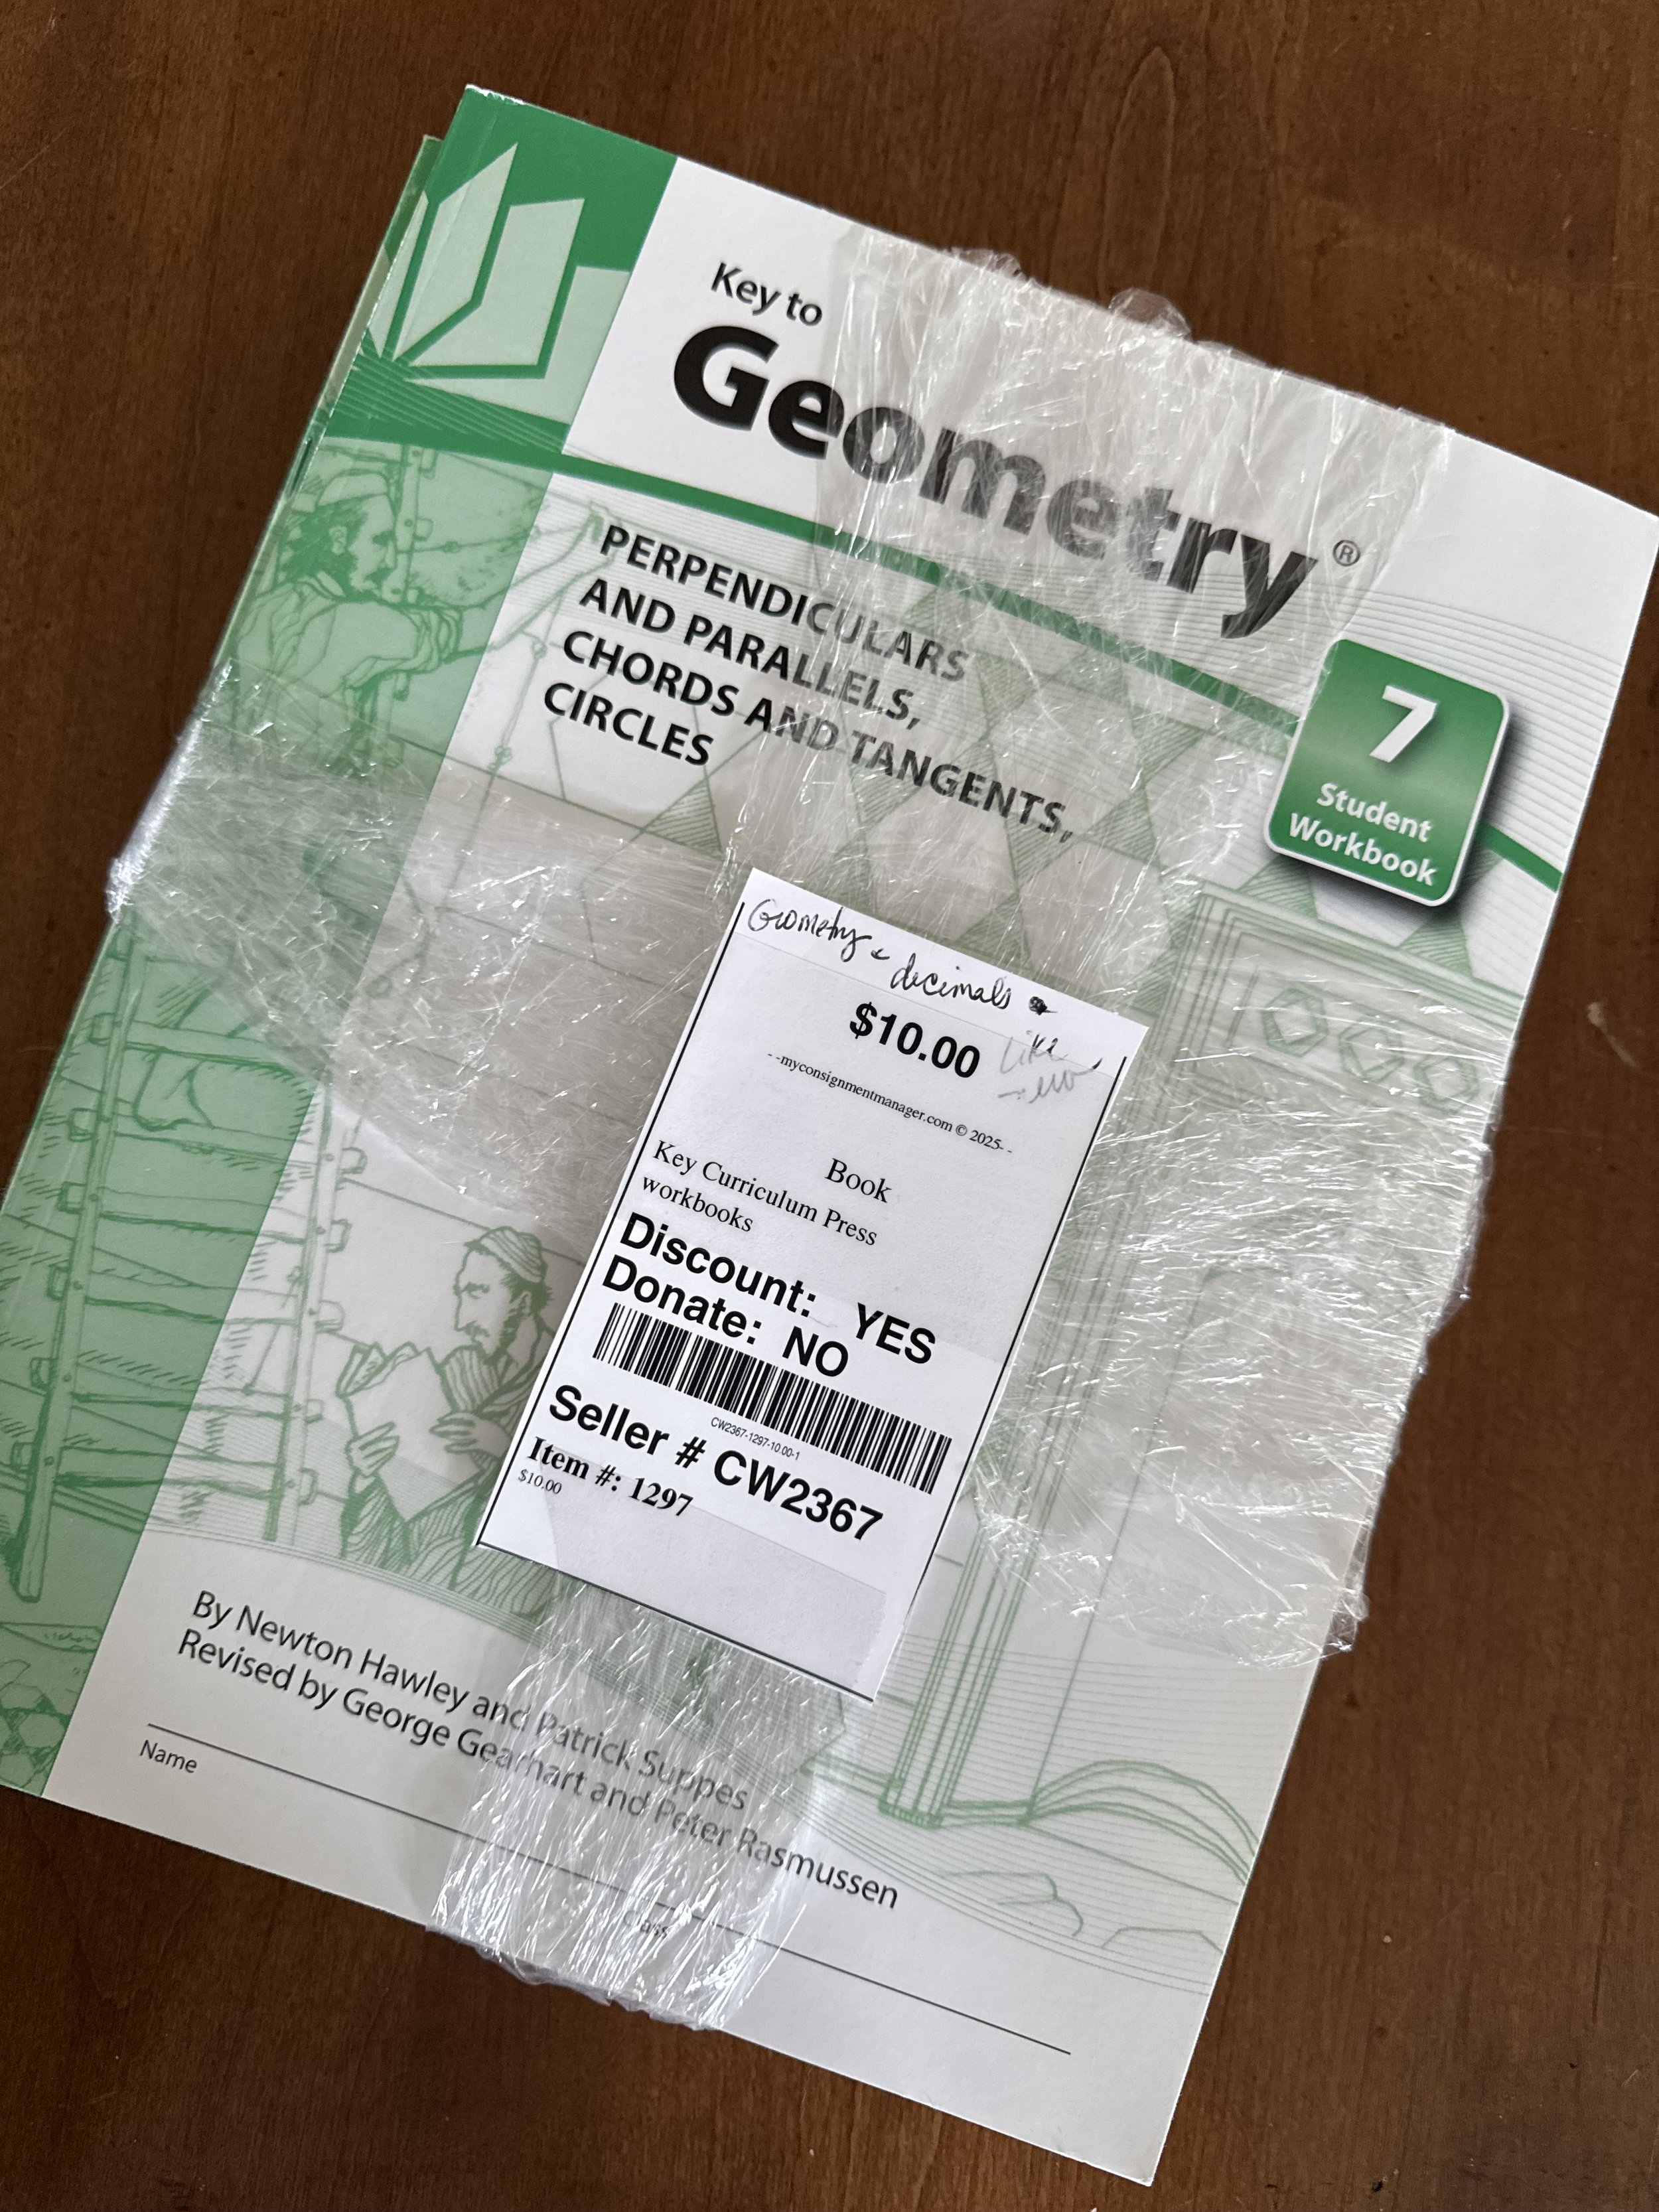
Use packing tape to attach tags (avoid covering the barcode)
Make sure the tag is secure – loose tags often get lost and can't be sold
Items like toys or gear should arrive organized and easy to browse


